Creating a Workspace for Sources that are Already Under AccuRev Version Control
Use this procedure if someone has already placed a set of development files under
AccuRev version control on his or her own machine. This procedure creates a new workspace for your personal use, and
updates the new workspace with the latest versions of the development files.
- Click or select from the IntelliJ IDEA Quick Start menu. If you are using the accurev_login authentication mode, you might be required to log in at this time.
- On the Checkout From Version Control screen, specify an AccuRev depot, a stream within that depot, and a name for the new workspace. AccuRev automatically adds your username as a suffix to the name you enter (unless you type the suffix yourself). Click Next.
- On the Workspace Properties screen, accepting the defaults is often most appropriate. See the description of the Anchor command for a discussion of the exclusive file locking and anchor required features. Click Next.
- On the Workspace Directory screen, click the Browse button and navigate to an existing directory. The new workspace will be created as a subdirectory at the location you specify. The subdirectory name is the same as the workspace name you specified on the first wizard screen.
-
IntelliJ IDEA automatically proceeds to create an IDE project in the new
AccuRev workspace:
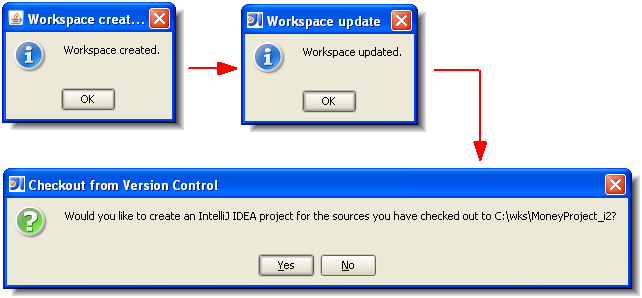
- Click Yes to complete the process.