Approving or Rejecting a Package for Installation
Before a change package can be installed into production, it must be approved for installation by a predefined hierarchy of approvers. The required approvers vary by application and by the type of change. For example, an emergency fix of temporary duration may use a different approval process than a planned, permanent, functional redesign. Approvers are notified automatically by ChangeMan ZMF when an approval action is required.
The Approve function in ZMF for Eclipse is enabled only if you are an authorized package approver and only after approval request notifications have been issued for a package.
Approval Actions
Four possible approval actions may be taken by a package approver:
- Approve package installation as-is.
- Reject installation and request reversion to development (DEV) status for changes.
- Flag the package as under review and defer approval or rejection to a future date.
- Comment on the package without approving or rejecting it.
Once an approval action is performed, it cannot be changed in ZMF for Eclipse. Refer to the ChangeMan ZMF User’s Guide for more information about package approval.
Invoking the Approval Function
The Approve function is invoked from the following menu in the Serena perspective.
In the Serena Explorer view, expand the ZMF Applications node, the node of the relevant application, and the Packages node below it. Right-click on the name of the package for which installation JCL should be rebuilt. When the contextual menu displays, select the Approve option. See Working with ZMF Packages.
The success or failure of the Approve action is reported in a dialog window.
Approval Actions Step-by-Step
To approve a package, reject a package, or take other approval actions on a package, perform the following steps.
-
Invoke the Approve function from the contextual menu of the package you want to approve or reject.
-
The Package Approval window displays the package name and description, the package status, and a list of approval actions currently recorded for the package. The approver category in use for the package is shown in the Description column.
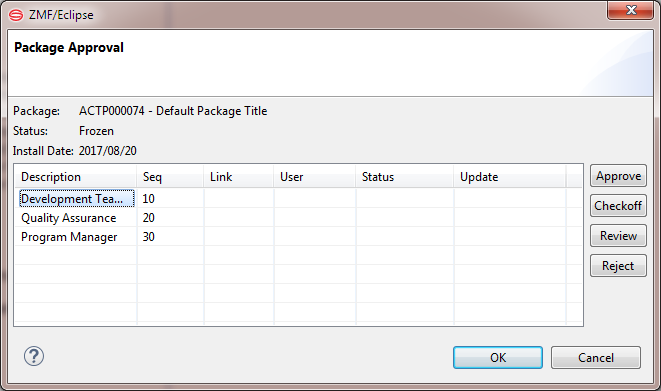
- Select the description for the incomplete approval entry in the table. This enables the approval action buttons at right.
-
Click one of the following buttons to register your approval action:
- Approve — Approve as is
- Checkoff (or Comment) — You neither approve nor reject the package, but merely "check off" the requirement to respond. You will be prompted to register comments about the package.
- Review — You wish defer an approval decision to a later date while reviewing the package or researching a possible issue with it. No further prompt window will display.
- Reject — You reject the installation of the package into production. You will be prompted to supply a reason for rejecting the package.
-
Click OK to record your approval action or request the next prompt. No further action is required if you approved the package or flagged it for review.
-
If you clicked the Checkoff (or Comment) action button, the Check Off List window displays.
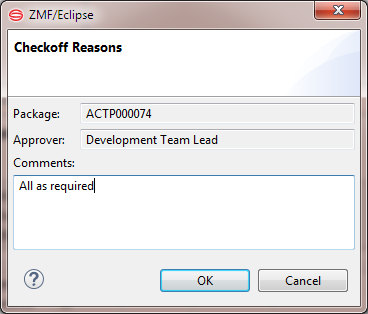
- Type a comment about the package in the text box. At least one character is required.
- Click OK to record your comment. No further action is required for Checkoff.
-
If you clicked the Reject action button, the Reject Package window is displayed.
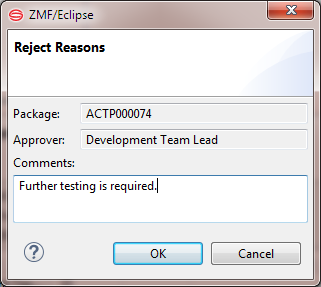
- In the text box, type a reason for rejecting the package for installation in production. At least one character is required.
- Click OK to record your rejection action. No further action is required.